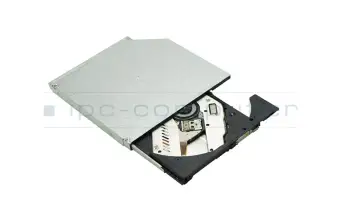
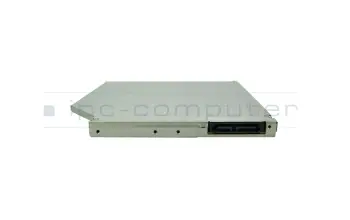
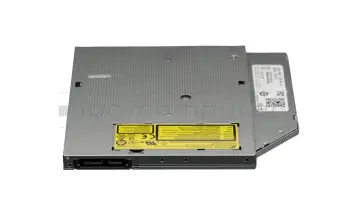
DVD Writer Ultraslim for Toshiba Satellite C55-B800
Common data
- Condition
- New
- Manufacturer
- Hitachi / LG
Technical Data
- Type
- DVD Writer
- Type of construction
- Ultraslim
- Interface
- S-ATA
- Mechanism
- Tray
- Height
- 9.5 mm
- Front bezel fixation
- GBAS
Reading speed
- Readable CD-R
- 24x
- Readable CD-ROM
- 24x
- Readable CD-RW
- 24x
- Readable DVD+R
- 8x
- Readable DVD+R DL
- 6x
- Readable DVD+RW
- 8x
- Readable DVD-R
- 6x
- Readable DVD-RAM
- 5x
- Readable DVD-ROM
- 8x
- Readable DVD-RW
- 8x
Writing speed
- Recordable CD-R
- 24x
- Recordable CD-RW
- 24x
- Recordable DVD+R
- 8x
- Recordable DVD+R DL
- 6x
- Recordable DVD+RW
- 8x
- Recordable DVD-R
- 8x
- Recordable DVD-R DL
- 6x
- Recordable DVD-RAM
- 5x
- Recordable DVD-RW
- 6x
Note
You have to convert the front panel from your old drive to the new one, please note that your old front panel has the same design as on the enlarged picture above. To realise a fast delivery it is important that you write in the following text box whether you have compared your bezel with the picture.

This is a replacement drive. Instructions: If your drive is not already installed or a dummy card is used in your laptop – you need additional parts to use this drive
The ODD supplied without a frontbezel / mounting frame. Please use these parts of your old ODD.
Category
- Category
- Optical drives
- Usage
- Laptop
Videos & Contributions
Important and useful informations about laptop Optical drives
Frequently asked questions about Optical drives
- I have a DVD-burner in my Notebook, can I exchange it for a Blu-Ray burner?
This is technically possible, although there are a few things you need to consider.
First your DVD drive needs to be connected via SATA and not PATA, because that is what all Blu-Ray drives use. Second you should test, whether your system meets the requirements of playing a Blu-Ray with a tool like BD & 3D Advisor by Cyberlink.
- What does GBAS stand for?
- What optical can be installed in my Notebook?
Which optical drive can be installed in your Notebook depends on three factors
Which connection type is used? (SATA or PATA)
What height of optical drive is used? (Slim 12,5mm or SuperSlim 9,5mm)
Does your laptop meet the System requirements?
SATA drives can not be used with a PATA controller and vice versa.
Before installing your new optical drive, make sure you attached the mounting bracket from the old drive to the new one.
Most optical drives are sold without a bezel, make sure you attach the old one to the new drive.
With the tool BD & 3D Advisor you can check whether your System has enough performance to play Blu-Rays.
All questions about Optical drives


